Integrating a laser distance module with Arduino opens up a world of possibilities for DIY projects, robotics, and industrial applications requiring precise non-contact measurements. These modules, often based on time-of-flight or triangulation principles, offer higher accuracy and longer range compared to ultrasonic sensors, making them ideal for tasks like level monitoring, object detection, and automated dimensioning. This guide walks through the fundamentals of connecting, programming, and applying a typical laser distance sensor with an Arduino board.
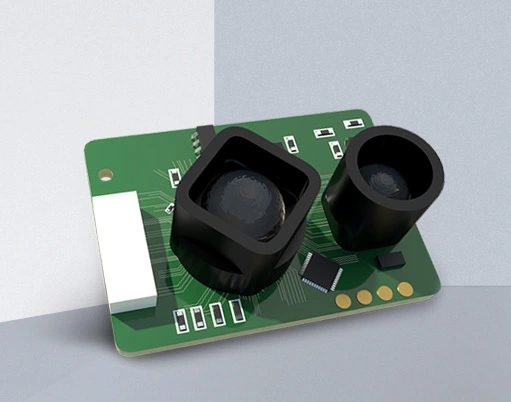
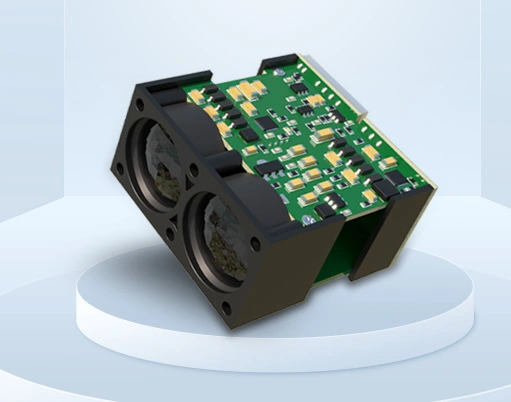
Most laser distance modules, such as the popular VL53L0X or TF-Luna models, communicate via I2C (Inter-Integrated Circuit) or UART (Universal Asynchronous Receiver-Transmitter) interfaces. I2C is widely preferred for its simplicity, using only two wires—SDA (data line) and SCL (clock line)—along with power and ground connections. Before wiring, ensure your Arduino is powered off to prevent accidental short circuits. Connect the module’s VCC pin to the Arduino’s 5V or 3.3V pin (check the module’s datasheet for voltage requirements), GND to GND, SDA to the SDA pin (A4 on Uno), and SCL to the SCL pin (A5 on Uno). For UART-based modules, connect the TX pin of the module to the RX pin of the Arduino and the RX pin to the TX pin, while also providing power and ground. A pull-up resistor may be needed for I2C lines if not built into the module.
Once physically connected, the next step is programming the Arduino to read distance data. For I2C modules, the Wire library is essential for handling communication. Begin by including necessary libraries (e.g., Wire.h for I2C or SoftwareSerial.h for UART) and defining variables. Initialize the serial monitor for output and the I2C bus in the setup function. In the loop function, send a command to trigger a measurement, read the returned data bytes, and convert them into a meaningful distance value (usually in millimeters or centimeters). Many modules have dedicated Arduino libraries available, simplifying code development—for instance, the VL53L0X library provides functions like readRangeSingleMillimeters() to get readings directly. Always refer to the module’s datasheet for specific command sets and timing requirements.
Calibration and error handling are crucial for reliable performance. Environmental factors like ambient light, reflective surfaces, or obstructions can affect accuracy. To mitigate this, average multiple readings and implement filtering algorithms (e.g., median filters) in your code. Additionally, set thresholds to ignore out-of-range values. For example, if the module has a range of 30–1200 mm, discard readings below or above these limits. Testing in controlled conditions helps establish a baseline. Power supply stability also matters; use a regulated source to avoid voltage fluctuations that could skew results.
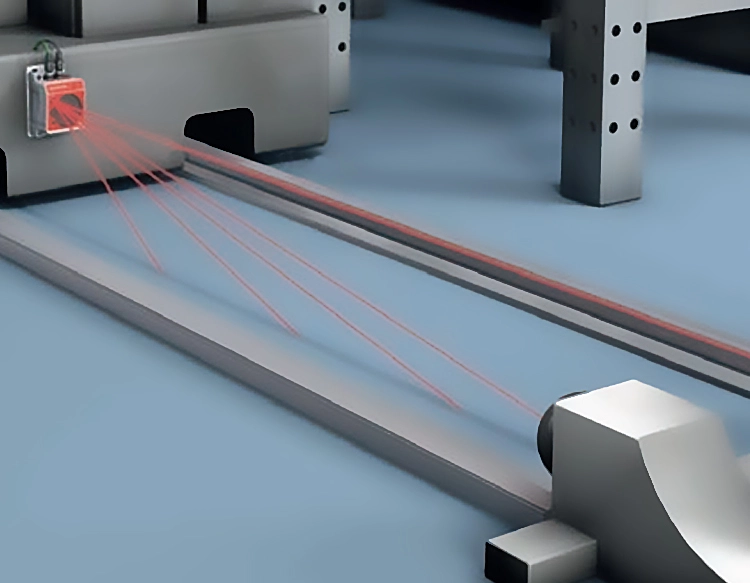
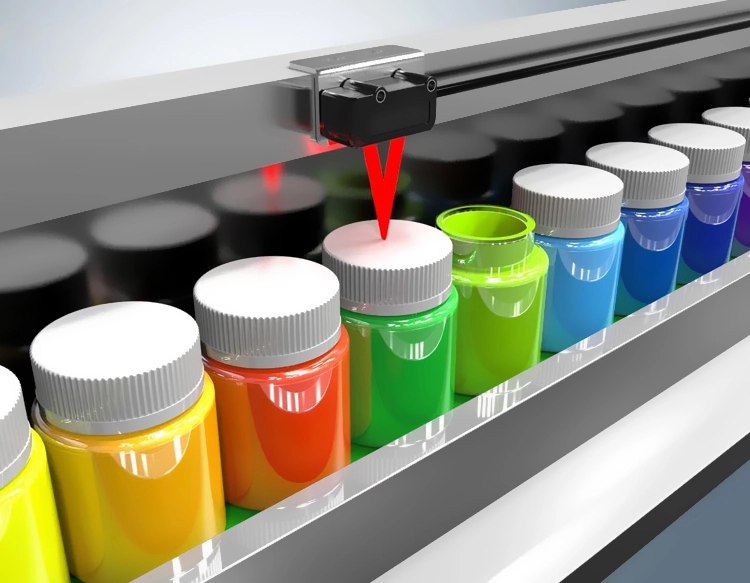
Practical applications abound. In robotics, laser distance modules enable obstacle avoidance and navigation by mapping surroundings. For home automation, they can monitor fluid levels in tanks or trigger lights when motion is detected. In manufacturing, they assist in quality control by measuring part dimensions. A simple project could involve building a digital tape measure: display real-time distance on an LCD screen and log data to an SD card. More advanced setups might integrate multiple sensors for 3D scanning or combine with servos for panoramic distance mapping.
Troubleshooting common issues involves checking connections, verifying baud rates for UART modules, and ensuring the Arduino code matches the module’s protocol. If readings are erratic, inspect for interference from other electronic devices or adjust the module’s timing settings. Community forums and manufacturer documentation are valuable resources for resolving specific problems.
In summary, interfacing a laser distance module with Arduino is straightforward with careful wiring, appropriate libraries, and robust coding practices. This combination empowers creators to achieve high-precision measurements in diverse projects, bridging the gap between concept and reality. As technology advances, these modules become more affordable and accessible, fostering innovation in both hobbyist and professional spheres.


 +40729977919
  keysensor.ro@gmail.com