DIY Laser Rangefinder for Arduino: A Comprehensive Guide
With the rise of DIY electronics and the increasing popularity of Arduino platforms, many hobbyists and makers are looking for affordable and customizable solutions for various projects. One such innovation is the DIY Laser Rangefinder for Arduino, a project that combines the power of a laser sensor with the flexibility of the Arduino microcontroller. This article will guide you through the process of building a basic laser rangefinder using an Arduino, a laser sensor, and some essential components.
What is a Laser Rangefinder?
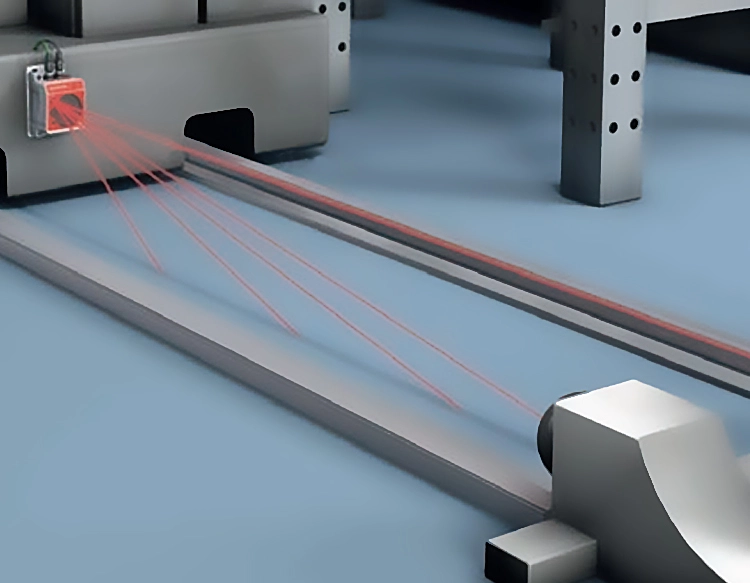
A laser rangefinder uses a laser beam to measure the distance to an object. By emitting a laser pulse and measuring the time it takes for the reflected light to return, the device can calculate the distance with high precision. The laser rangefinder is particularly useful in applications such as autonomous robots, environmental monitoring, and even in-home automation.
Building a DIY Laser Rangefinder for Arduino
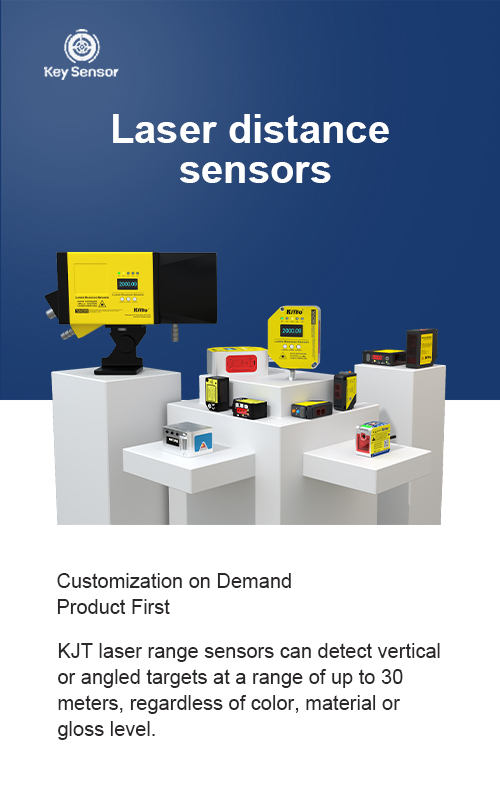
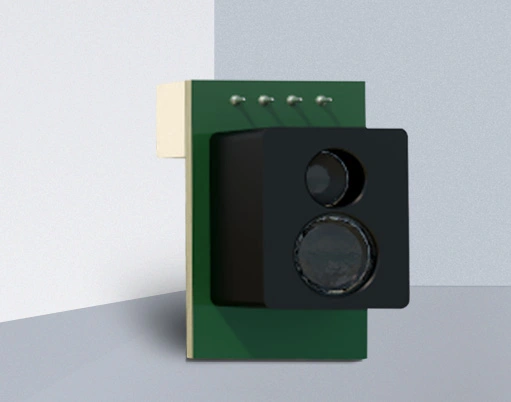
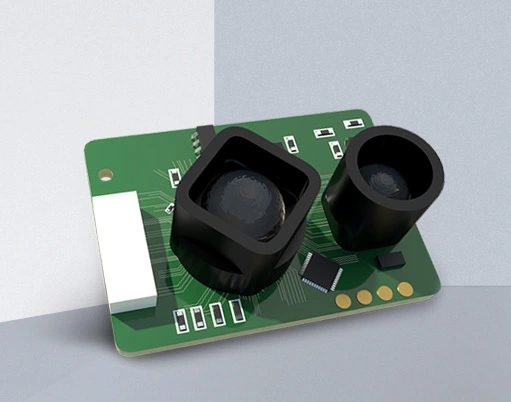
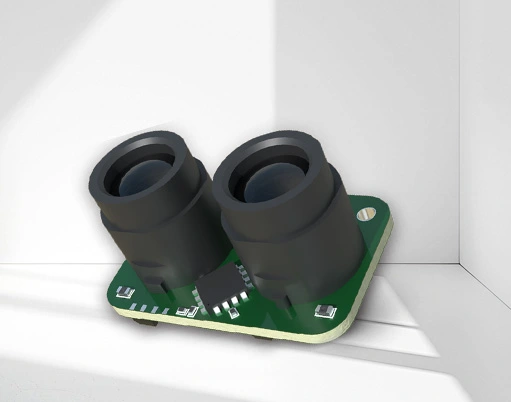
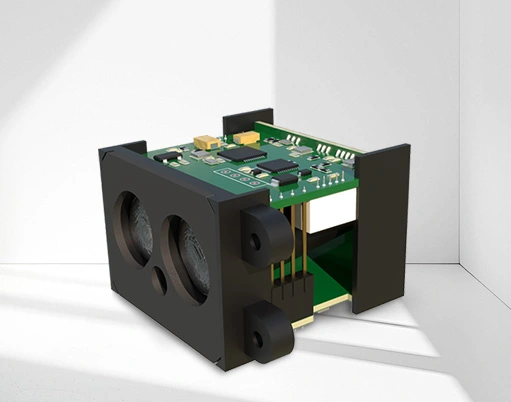
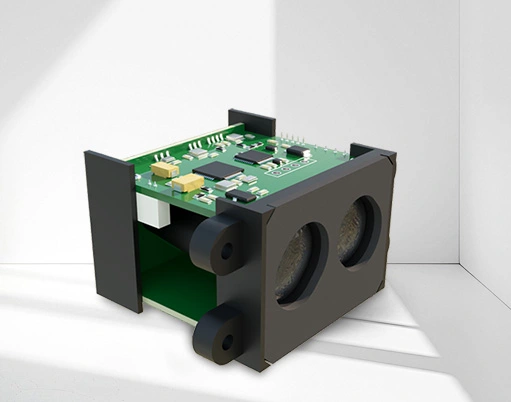
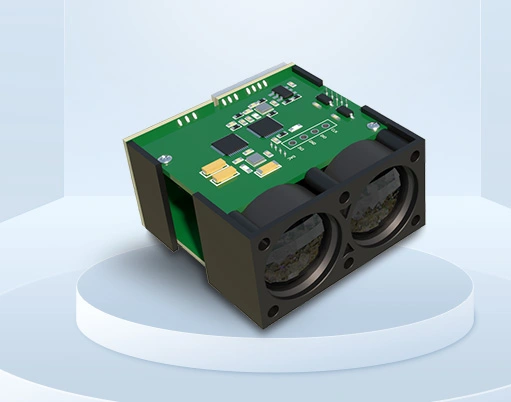
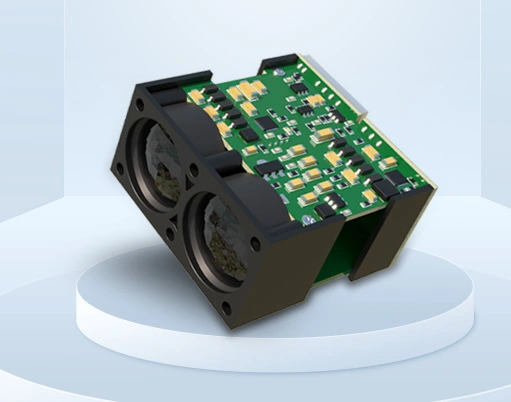
The core of this project is the Laser Sensor, which is typically a Laser Distance Sensor or Laser Rangefinder Module. These sensors are available in various forms, including ultrasonic and laser variants. For a DIY project, a Laser Rangefinder Module is often preferred due to its higher precision and range.
Step 1: Gather Components
Before starting, gather the following components:
Step 2: Connect the Components
Once the components are ready, proceed with the following steps:
Step 3: Write the Code
The code for the DIY laser rangefinder is straightforward and can be written using the Arduino IDE. Here is a basic example:
#define LASER_PIN 2
void setup() {
pinMode(LASER_PIN, OUTPUT);
Serial.begin(9600);
}
void loop() {
digitalWrite(LASER_PIN, HIGH);
delay(1000);
digitalWrite(LASER_PIN, LOW);
delay(1000);
// Measure distance
int distance = analogRead(LASER_PIN);
Serial.print("Distance: ");
Serial.println(distance);
delay(1000);
}
This code uses the laser sensor to measure distance and prints the result to the serial monitor. The actual distance can be calculated based on the sensor’s output.
Understanding the Output
The sensor outputs a value that corresponds to the distance in centimeters or millimeters. The exact calculation depends on the sensor’s specifications. For example, the HC-SR04 sensor measures distance in centimeters, and the output is read using the analogRead() function. However, for a laser rangefinder, the output is typically a digital value that needs to be converted into a distance.
Tips and Tricks
Conclusion
Building a DIY laser rangefinder for Arduino is a rewarding project that combines hardware and software skills. It offers a flexible and cost-effective solution for a variety of applications. By following the steps outlined in this guide, you can create a reliable rangefinder that meets your specific needs. Whether you’re building a robot, monitoring your environment, or experimenting with electronics, this project provides a solid foundation for further development.
Note: This article is for educational purposes only and should not be used in any illegal or unethical manner.


 +40729977919
  keysensor.ro@gmail.com