Arduino, Laser Sensor, and Photoresistor: A Comprehensive Guide for Beginners
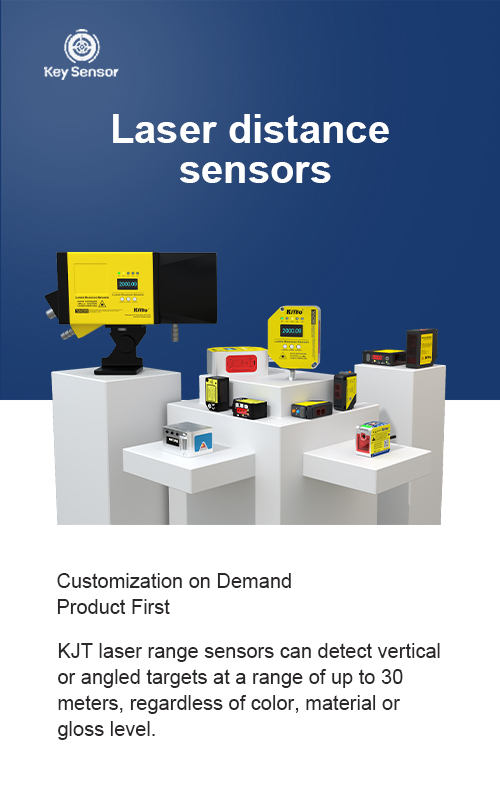
In the world of electronics and robotics, the Arduino platform has become a popular choice for beginners and hobbyists alike. It is a versatile microcontroller that allows users to create interactive projects with minimal coding knowledge. One of the most useful components that can be integrated with Arduino is the laser sensor, which can detect light and measure the intensity of the light beam. When paired with a photoresistor, the combination becomes even more powerful, enabling a wide range of applications from environmental monitoring to industrial automation.
A laser sensor works by detecting the intensity of light emitted by a laser. It typically consists of a photodiode or phototransistor that converts light into an electrical signal. The photoresistor, also known as a light-dependent resistor (LDR), changes its resistance based on the amount of light it receives. When exposed to more light, the resistance decreases, and when in darkness, it increases. This behavior makes the photoresistor an ideal component for light detection and measurement.
In this article, we will explore how to use an Arduino, a laser sensor, and a photoresistor together to create a basic light detection system. We will cover the setup process, the code required to read data from the components, and some practical applications of this combination.
To begin, you will need the following components: an Arduino board (such as the Arduino Uno), a laser sensor, a photoresistor, and a breadboard. These components form the foundation of your project. The breadboard allows you to connect the components easily, while the Arduino provides the power and processing capabilities.
Once the components are connected, the next step is to write the code that will read the values from the laser sensor and the photoresistor. The code will use the Arduino’s analogRead function to measure the resistance of the photoresistor and the output of the laser sensor. By analyzing these values, you can determine the intensity of the light and take appropriate actions based on the result.
For example, if the photoresistor detects a high level of light, the laser sensor might trigger an action, such as turning on an LED or activating a motor. Conversely, if the light level is low, the system could be programmed to adjust the brightness of an LED or activate a different component. This ability to respond to light conditions makes the combination of Arduino, laser sensor, and photoresistor highly versatile.
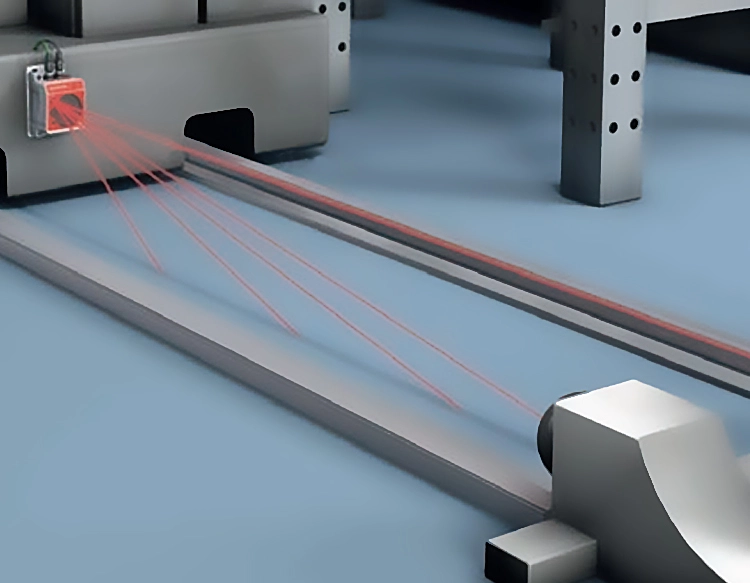
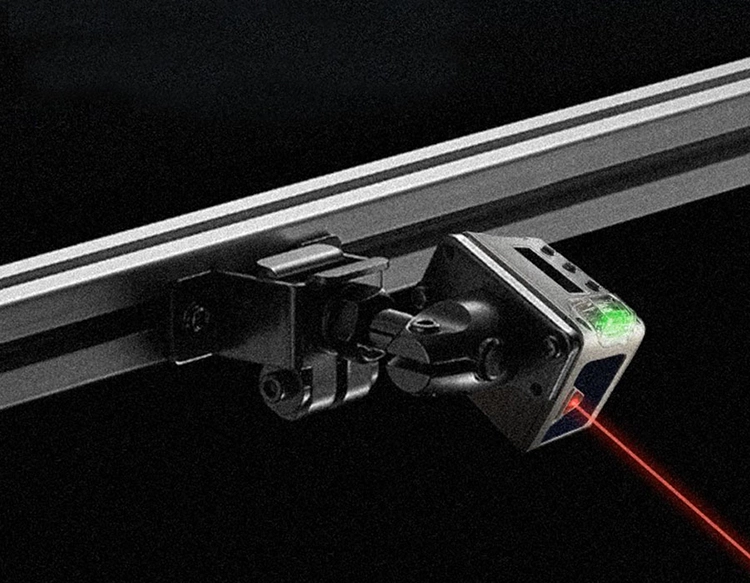
One of the key advantages of using a laser sensor is its ability to detect light at very high levels, making it suitable for applications where precise light measurement is required. On the other hand, the photoresistor is more commonly used for general light detection, offering a simpler and more cost-effective solution. Together, they provide a powerful tool for measuring and responding to light conditions in a variety of settings.
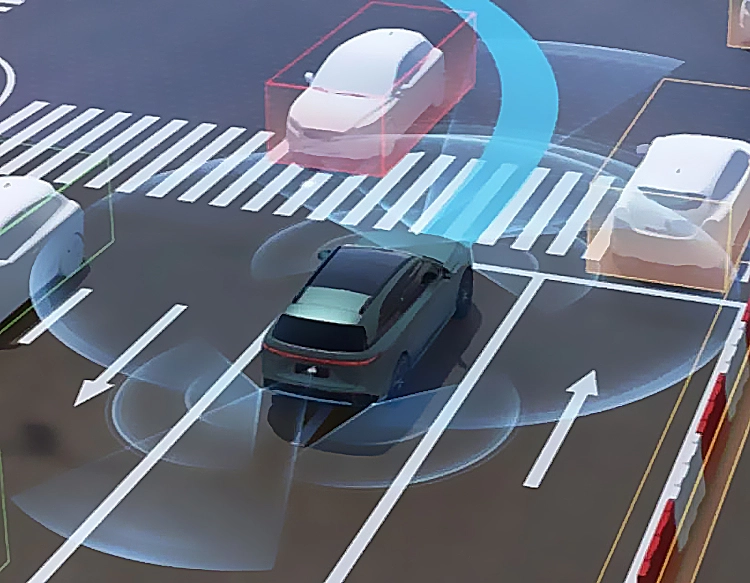
In addition to the basic setup, there are several advanced applications that can be explored. For instance, the system can be used to monitor the intensity of a light source, adjust the brightness of a display based on ambient light, or even control a robot’s movement based on the presence of light. These applications highlight the flexibility and potential of this combination.
It is important to note that when working with laser sensors, care must be taken to ensure that the sensor is not exposed to direct sunlight or other strong light sources that could cause false readings. Similarly, the photoresistor should be placed in a location where it is not affected by external light sources, such as windows or direct sunlight.
In conclusion, the integration of Arduino, laser sensor, and photoresistor offers a powerful and flexible solution for light detection and measurement. Whether you are building a simple light sensor for a project or exploring more complex applications, this combination provides a solid foundation for experimentation and innovation. With the right setup and code, you can create a system that responds to light in a way that is both practical and functional.


 +40729977919
  keysensor.ro@gmail.com


