Arduino Laser Emitter and Sensor: A Practical Guide to Building and Using a Laser Control System
The integration of laser technology into everyday electronics has opened up new possibilities for precision and control in various fields, from industrial automation to artistic projects. At the heart of these applications lies the Arduino laser emitter and sensor, a powerful and versatile combination that enables users to create interactive and responsive systems. This article explores the fundamentals of the Arduino laser emitter and sensor, how they work together, and practical applications for both beginners and advanced users.
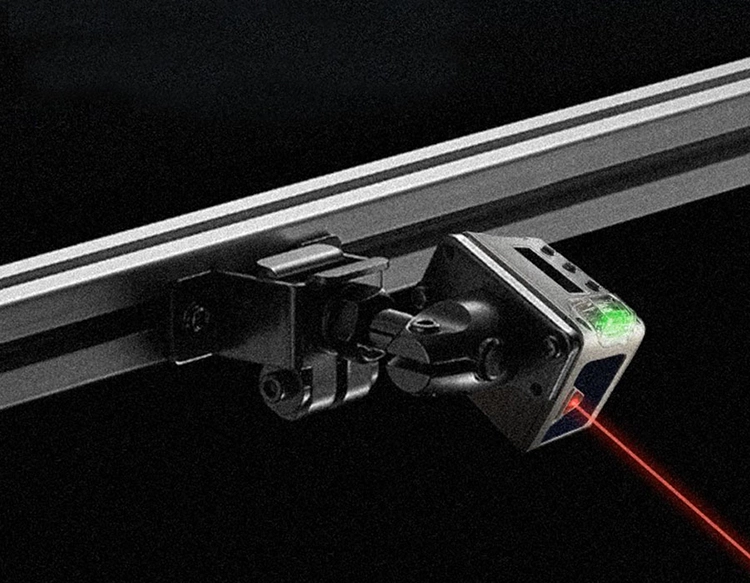
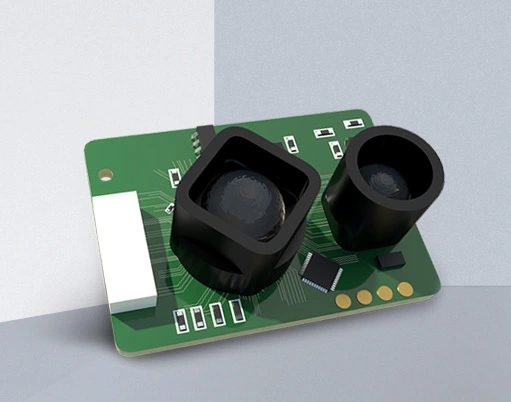
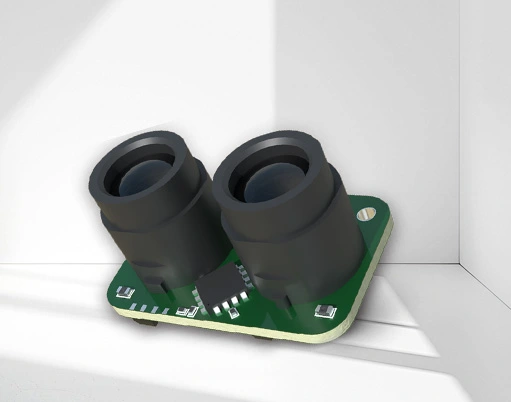
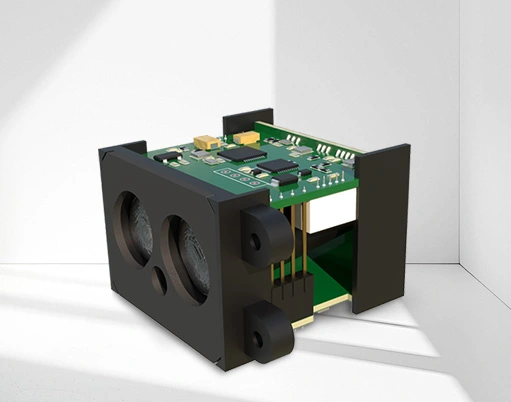
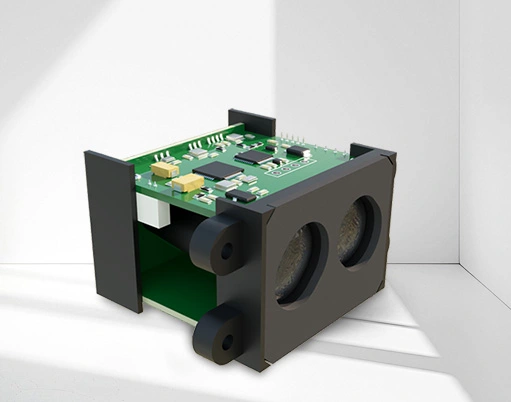
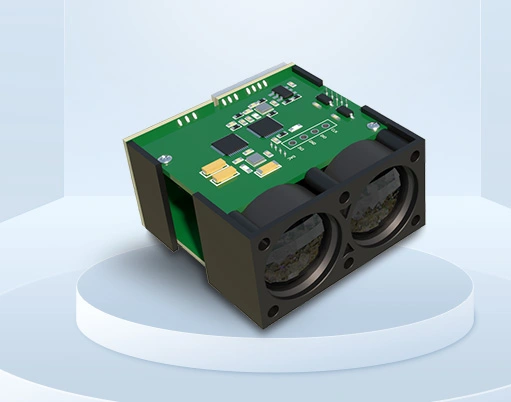
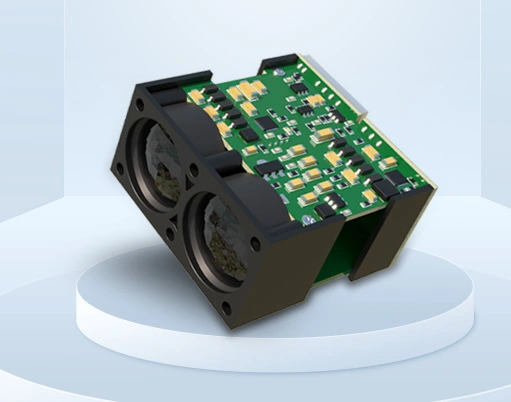
The Arduino laser emitter is a small, low-cost component that can be connected to an Arduino board to emit a laser beam. It typically operates at a specific wavelength, such as red or infrared, and can be controlled using digital or analog signals. The laser sensor, on the other hand, detects the presence or intensity of the laser beam, often using a photodiode or phototransistor. Together, these components form a system that can be used to measure distance, detect objects, or trigger actions based on laser presence.
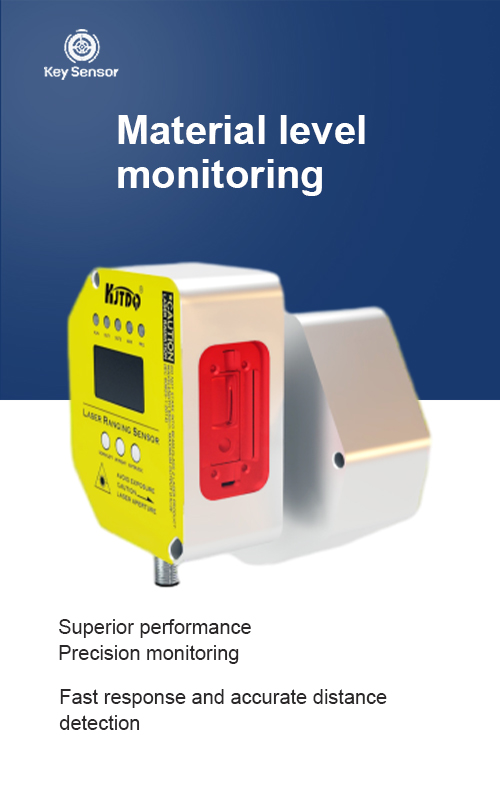
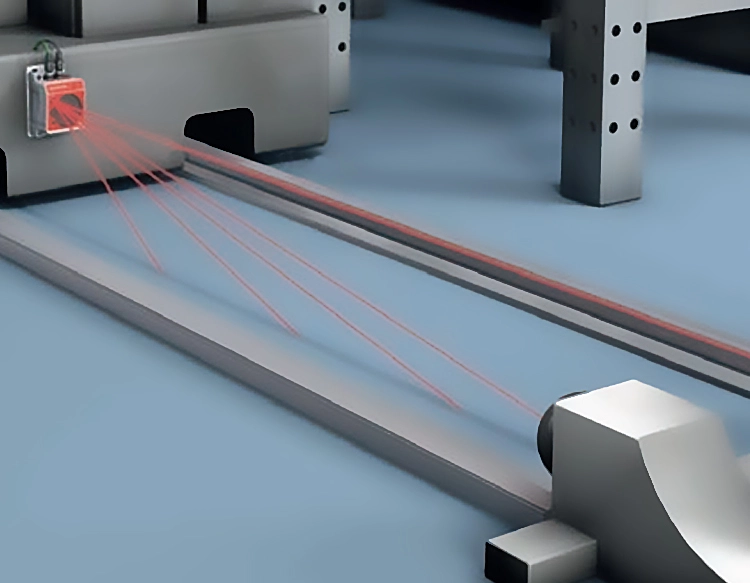
One of the most common applications of the Arduino laser emitter and sensor is in distance measurement. By emitting a laser beam and measuring the time it takes for the beam to return, the system can calculate the distance to an object. This is particularly useful in projects involving robotics, automation, and even in artistic installations. The accuracy of this measurement depends on the quality of the sensors and the stability of the laser emitter.
Another important application is in object detection and movement detection. The laser sensor can be used to detect the presence of an object in a certain area, triggering an action when an object is detected. This is widely used in security systems, robotics, and automated control systems. The Arduino’s flexibility allows for easy integration with other sensors and actuators, making it a popular choice for DIY projects.
The design of the Arduino laser emitter and sensor is straightforward, requiring minimal components. A common setup involves connecting the emitter to a digital pin on the Arduino board, and the sensor to another pin. The sensor can be connected to an analog input pin, and the Arduino can use the digital pins to control the laser’s output. The sensor’s output is typically read using an analog read function, which allows for precise measurements.
To ensure accurate readings, it is important to calibrate the system. This involves adjusting the laser’s output and sensor sensitivity to achieve the desired accuracy. Calibration can be done by testing the system under various conditions and adjusting the settings accordingly. Additionally, environmental factors such as temperature and humidity can affect the performance of the laser and sensor, so it is essential to consider these in the setup.
The Arduino laser emitter and sensor are also highly customizable. Users can modify the code to suit their specific needs, such as changing the laser’s intensity or adjusting the detection range. The Arduino’s open-source nature allows for easy modification and expansion, making it a popular choice for both educational and commercial projects.
In conclusion, the Arduino laser emitter and sensor represent a powerful and versatile tool for creating interactive systems. Whether used for distance measurement, object detection, or automation, these components offer a simple yet effective solution for a wide range of applications. With the right setup and calibration, users can harness the full potential of the Arduino laser emitter and sensor, transforming their projects into innovative and functional devices.


 +40729977919
  keysensor.ro@gmail.com


