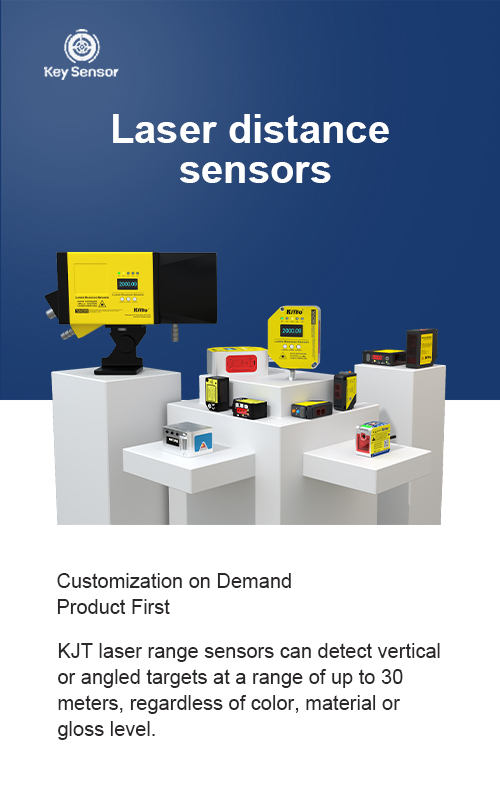
Arduino Laser Distance Meter: A Comprehensive Guide to Using a Laser Sensor for Distance Measurement
Laser distance meters are increasingly popular in various fields, from industrial automation to personal robotics. At the heart of these devices lies a laser sensor, which uses the properties of laser light to measure distances with high precision. In this article, we will explore the basics of an Arduino-based laser distance meter, its applications, and the essential components that make it function effectively.
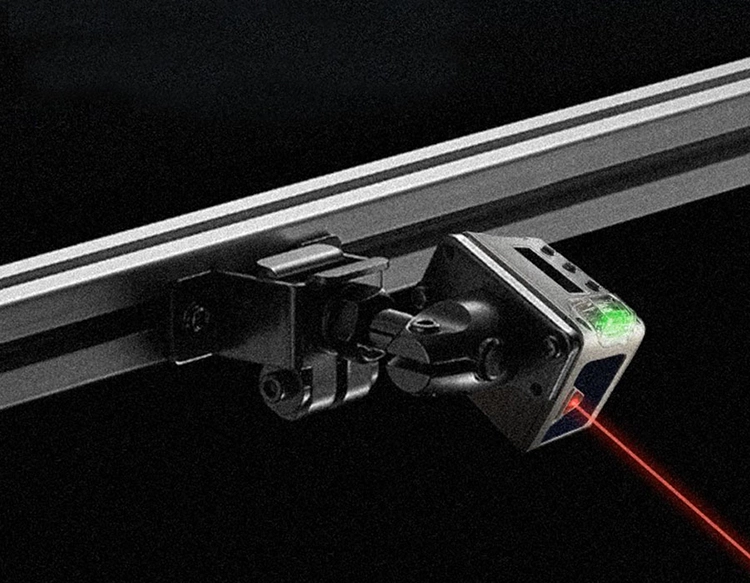
A laser distance meter typically uses a laser sensor to emit a pulse of laser light and measure the time it takes for the light to return to the sensor. This time is then converted into a distance measurement using the speed of light. The Arduino, a popular microcontroller, can be programmed to read and process these measurements, making it a versatile tool for hobbyists and professionals alike.
The key components of an Arduino-based laser distance meter include the Arduino board, the laser sensor, and the necessary software for data processing. The Arduino board provides the computational power needed to read the sensor’s output and convert it into a usable distance measurement. The laser sensor, often a photodiode or a phototransistor, detects the reflected laser light and sends the data back to the Arduino. The software, typically written in C++ or Python, processes the incoming data and displays the results.
One of the most significant advantages of an Arduino-based laser distance meter is its ease of use and affordability. Unlike more complex systems requiring specialized hardware or software, an Arduino setup is simple to assemble and customize. Users can easily modify the code to suit different applications, such as measuring distances in a room, tracking objects in a line, or even monitoring environmental conditions.
In addition to its practical applications, a laser distance meter can be used in educational settings to teach principles of physics and engineering. Students can experiment with different setups, adjust the sensor’s sensitivity, and learn how to process the data in real-time. This hands-on approach not only enhances understanding but also fosters creativity and problem-solving skills.
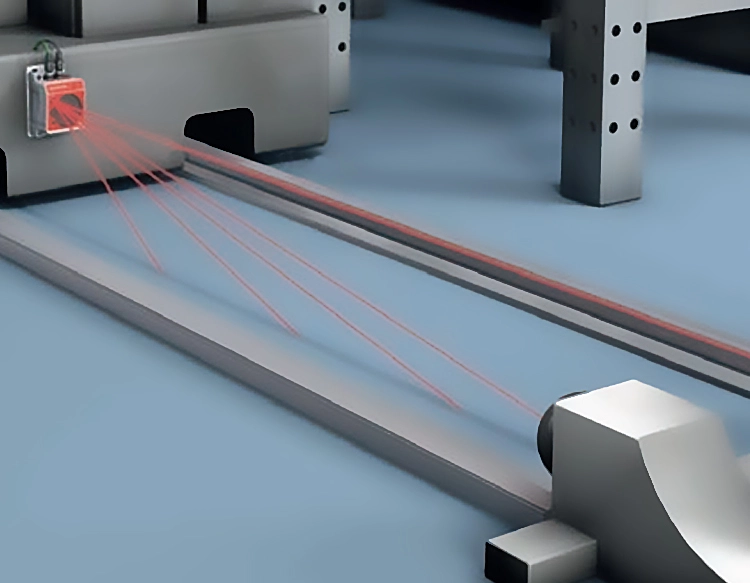
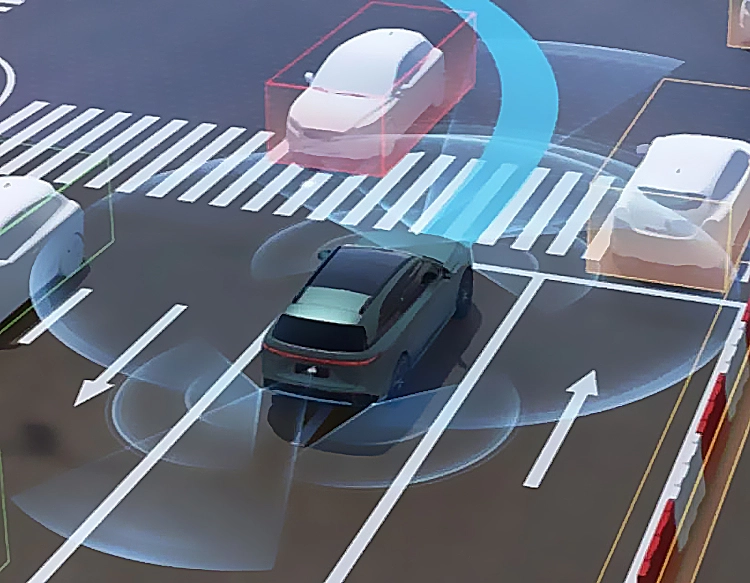
The potential applications of a laser distance meter are vast. From distance sensing in robotics to quality control in manufacturing, the versatility of the device makes it a valuable asset in many industries. In robotics, a laser distance meter can help a robot navigate its environment by detecting obstacles and maintaining a safe distance. In manufacturing, it can be used to measure the thickness of materials or monitor the position of objects with high accuracy.
When building an Arduino-based laser distance meter, it is essential to ensure that the sensor is properly calibrated. The calibration process involves adjusting the sensor’s sensitivity and ensuring that it accurately measures the distance. This step is crucial for obtaining reliable data and avoiding errors in the measurements.
In conclusion, an Arduino laser distance meter is a powerful tool that combines the precision of laser technology with the flexibility of an Arduino microcontroller. Whether for educational purposes, industrial applications, or personal projects, it offers a versatile solution for distance measurement. By understanding the components, calibration process, and potential applications, users can effectively leverage this technology to achieve their goals.


 +40729977919
  keysensor.ro@gmail.com


