Optical distance sensors have become essential tools in modern electronics, offering precise non-contact measurement capabilities. When combined with Arduino, these sensors open up a world of possibilities for hobbyists, engineers, and educators. This guide explores how Arduino optical distance sensors work, their applications, and practical implementation tips.
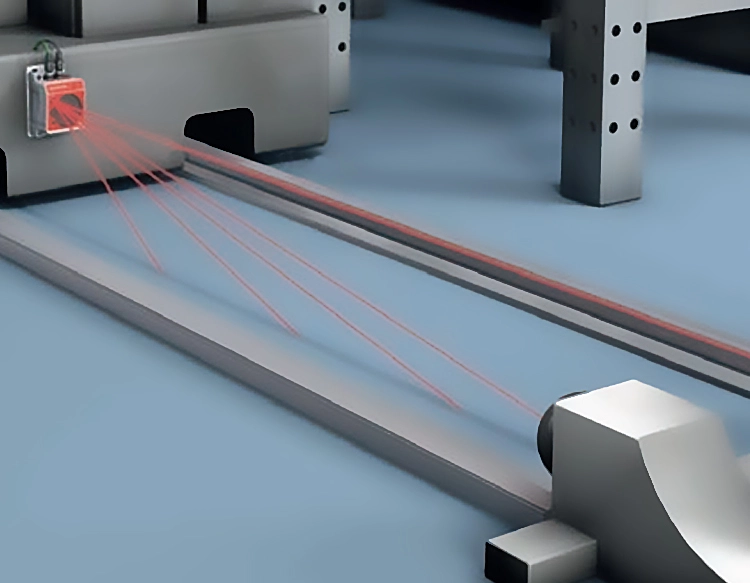
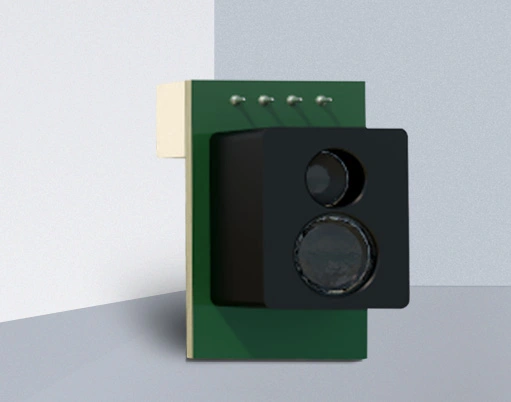
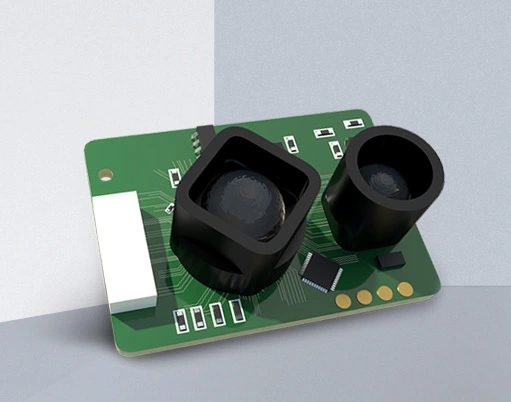
Optical distance sensors typically operate using infrared (IR) or laser technology. The most common types include time-of-flight (ToF) sensors, triangulation sensors, and infrared proximity sensors. Time-of-flight sensors measure distance by calculating the time it takes for light to travel to an object and back. Triangulation sensors use a laser emitter and a position-sensitive detector to determine distance based on the angle of reflected light. Infrared proximity sensors detect objects by measuring the intensity of reflected IR light.
Arduino compatibility makes these sensors accessible to users of all skill levels. Popular optical distance sensors for Arduino include the VL53L0X (ToF sensor), GP2Y0A21YK (IR distance sensor), and Sharp GP2Y0A02YK0F (analog distance sensor). Each sensor has distinct characteristics regarding range, accuracy, and interface requirements. The VL53L0X, for example, offers millimeter-level accuracy up to 2 meters, while IR sensors typically work best within 10-80 cm ranges.
Connecting an optical distance sensor to Arduino usually involves simple wiring. Most sensors require power (3.3V or 5V), ground, and signal connections. I2C sensors like the VL53L0X need only four wires: VCC, GND, SDA, and SCL. Analog sensors output variable voltage that Arduino can read through analog pins. Digital sensors may use serial communication protocols. Proper wiring ensures accurate readings and prevents damage to components.
Programming Arduino to read optical distance sensors involves installing appropriate libraries and writing code to interpret sensor data. For the VL53L0X, the Adafruit_VL53L0X library simplifies implementation. Basic code structure includes initializing the sensor in setup() and reading measurements in loop(). Calibration routines can improve accuracy by accounting for environmental factors and sensor variations. Many sensors require temperature compensation or background light filtering for optimal performance.
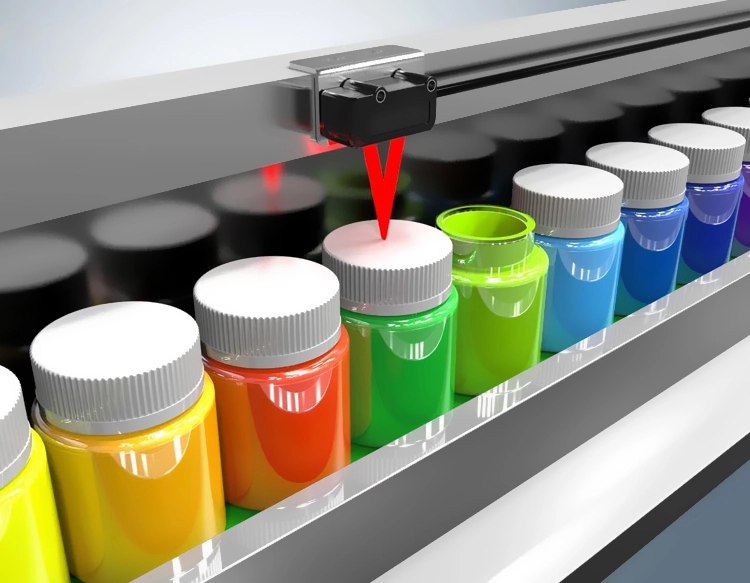
Applications for Arduino optical distance sensors span numerous fields. In robotics, these sensors enable obstacle avoidance, navigation, and object detection. Industrial applications include level monitoring, assembly line automation, and quality control. Home automation systems use distance sensors for smart lighting, security systems, and appliance control. Educational projects benefit from sensors' ability to demonstrate physics principles and measurement techniques.
Accuracy considerations are crucial when working with optical distance sensors. Factors affecting precision include target surface properties (color, texture, reflectivity), ambient light conditions, sensor mounting stability, and sampling rate. Dark or absorbent surfaces may return weaker signals, while reflective surfaces can cause saturation. Implementing software filters (like moving averages) and proper hardware shielding improves reliability in challenging conditions.
Power management becomes important in battery-operated projects. Some optical distance sensors offer sleep modes or adjustable measurement frequencies to conserve energy. The VL53L0X, for instance, consumes about 20mA during active measurements but can drop to 5μA in standby. Arduino's power-saving modes can further extend operational life when combined with intelligent sensor polling strategies.
Troubleshooting common issues involves systematic testing. If a sensor returns inconsistent readings, check for electrical noise, insufficient power supply, or incorrect library configurations. Serial monitor debugging helps identify communication problems. Environmental interference from other IR sources (like sunlight or heating elements) may require physical barriers or optical filters.
Advanced implementations might involve multiple sensors for area mapping or sensor fusion with other types (ultrasonic, capacitive). Arduino's computational capabilities allow for real-time data processing, wireless transmission via Bluetooth/WiFi modules, or integration with display units for portable measurement devices.
Future developments in optical distance sensing include improved miniaturization, lower power consumption, and enhanced algorithms for challenging surfaces. Arduino's evolving ecosystem continues to support newer sensor models, making sophisticated measurement technology increasingly accessible.
Whether you're building a simple object counter or a complex autonomous system, understanding Arduino optical distance sensors' capabilities and limitations ensures successful project outcomes. Start with basic single-sensor setups, gradually incorporating additional features as familiarity grows. The combination of affordable hardware, open-source software, and extensive community resources makes this an ideal entry point into precision measurement technology.


 +40729977919
  keysensor.ro@gmail.com