Laser Receiver Sensor for Arduino: A Comprehensive Guide
In today’s rapidly evolving technological landscape, the integration of sensors into everyday devices has become increasingly common. Among these, the Laser Receiver Sensor stands out as a powerful tool for detecting and measuring light intensity, particularly in applications requiring high precision and reliability. This article explores the Laser Receiver Sensor and its compatibility with Arduino, offering insights into its functionality, usage, and integration into DIY projects.
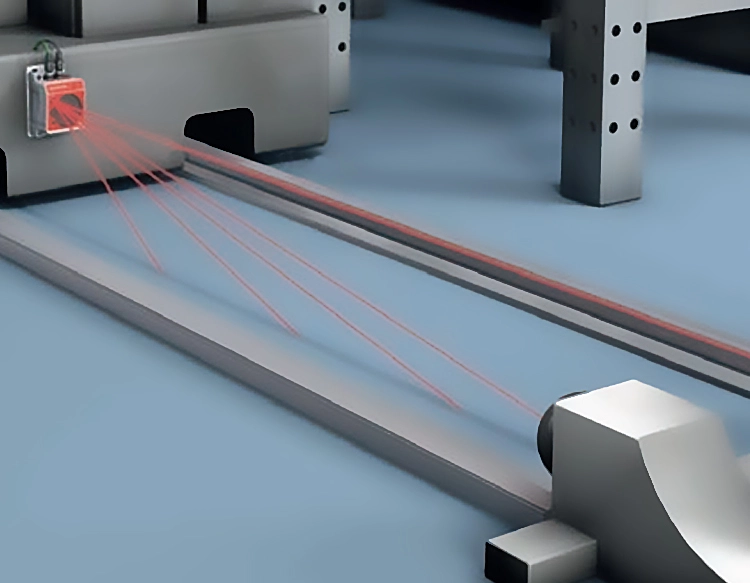
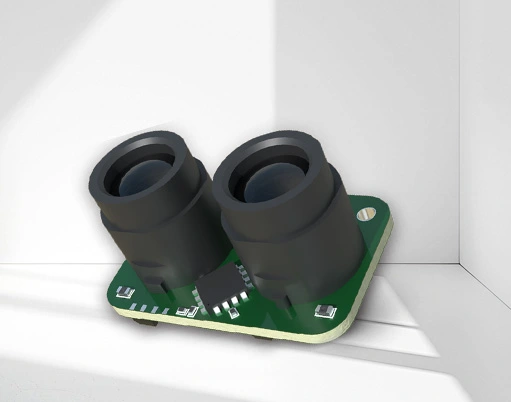
A Laser Receiver Sensor is a specialized electronic component designed to detect and measure the intensity of laser light. It typically consists of a photodetector and a signal processing unit that converts the incoming laser light into electrical signals. These signals are then processed by the Arduino to provide real-time data on the intensity or presence of the laser source. The sensor is commonly used in industrial automation, robotics, and scientific research, where accurate light detection is essential.
Arduino, as a popular open-source microcontroller platform, offers a flexible and cost-effective solution for interfacing with hardware like the Laser Receiver Sensor. By connecting the sensor to an Arduino board, users can monitor and control laser light levels, making it ideal for projects such as light-based detection systems, motion sensors, and even educational experiments.
One of the key advantages of using an Arduino with a Laser Receiver Sensor is its simplicity and versatility. The Arduino’s built-in libraries and ease of programming allow users to quickly set up and customize their projects. For example, a user can use the Arduino Uno or Arduino Mega to read the sensor’s output and display it on an LCD screen or through a serial monitor. This makes it an excellent choice for both beginners and advanced users.
To integrate the Laser Receiver Sensor with Arduino, the following steps are typically required:
Adafruit_Sensor or Blynk can be utilized to simplify the process.The Laser Receiver Sensor is not only a valuable tool for data acquisition but also a crucial component in many modern systems. Its ability to detect even faint laser beams makes it ideal for applications where precision is critical. Whether you are building a robotics project, a home automation system, or a scientific experiment, the Laser Receiver Sensor offers a reliable and accurate solution.
In conclusion, the Laser Receiver Sensor and Arduino represent a powerful combination for anyone looking to leverage the power of light detection in their projects. With the right setup and configuration, users can achieve high precision and real-time monitoring, making it a versatile and essential tool in the realm of embedded systems and IoT applications.


 +40729977919
  keysensor.ro@gmail.com