Laser Distance Measurement Sensor for Arduino: A Comprehensive Guide
In today’s rapidly evolving technological landscape, precision and accuracy are paramount in many applications, from industrial automation to robotics and home automation. One of the most versatile tools for measuring distance is the Laser Distance Measurement Sensor, and when integrated with Arduino, it opens up a world of possibilities for hobbyists and professionals alike. This article explores the fundamentals of laser distance measurement, the role of Arduino in interfacing with such sensors, and how to build a reliable and customizable project.
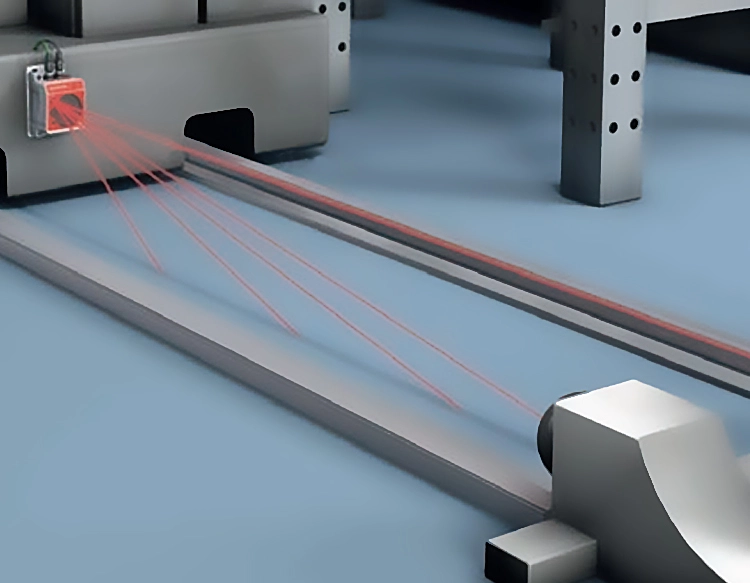
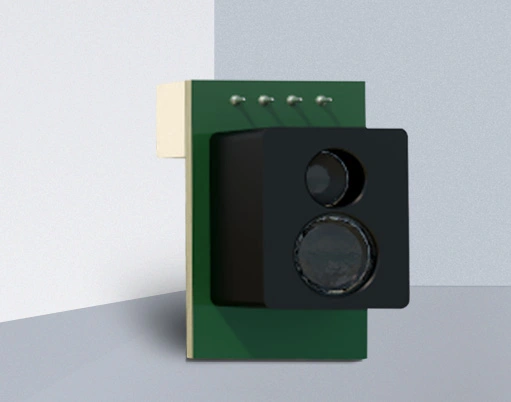
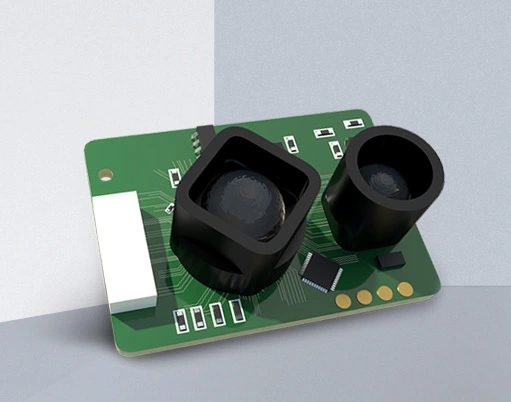
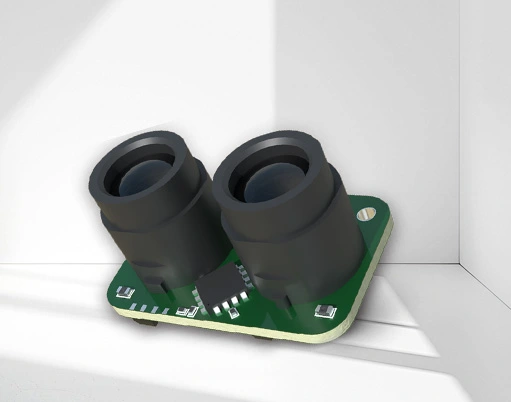
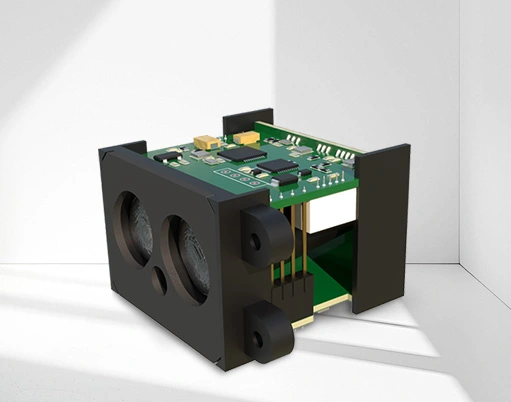
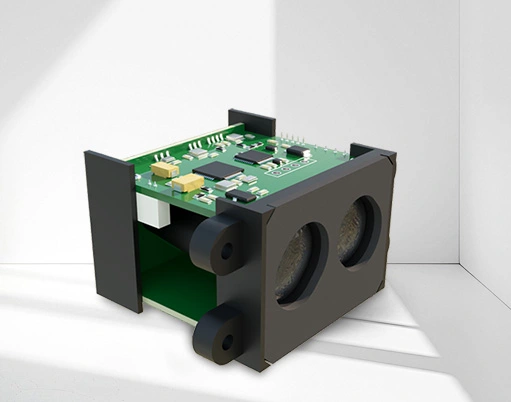
A Laser Distance Measurement Sensor works by emitting a laser beam and measuring the time it takes for the beam to return after reflecting off an object. This time is then converted into a distance measurement using the speed of light. The sensor is typically composed of a laser diode, a photodiode, and a microcontroller that processes the signal. The Arduino platform provides a perfect environment for integrating such sensors into DIY projects due to its simplicity, flexibility, and extensive community support.
One of the key advantages of using an Arduino with a laser sensor is the ease of interfacing. The sensor can be connected to the Arduino using a small breakout board, which often includes the necessary pins for power, data, and ground. Once connected, the sensor sends data to the Arduino in the form of a voltage signal or digital pulse, which the Arduino can then process and display on an LCD or serial monitor.
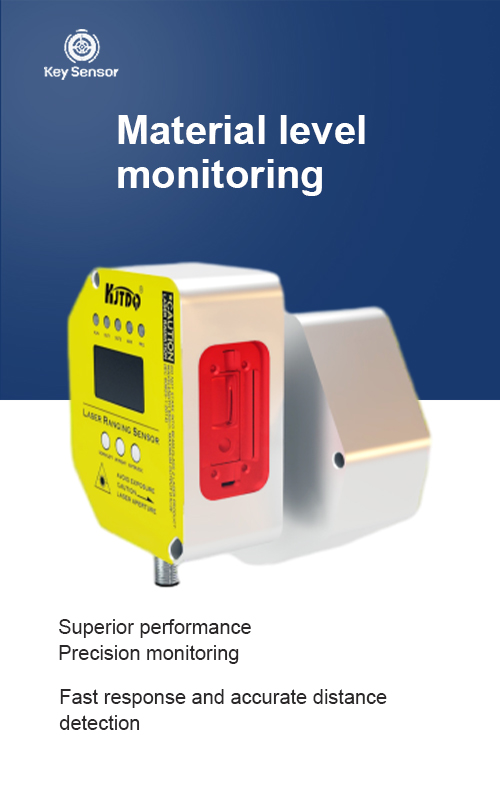
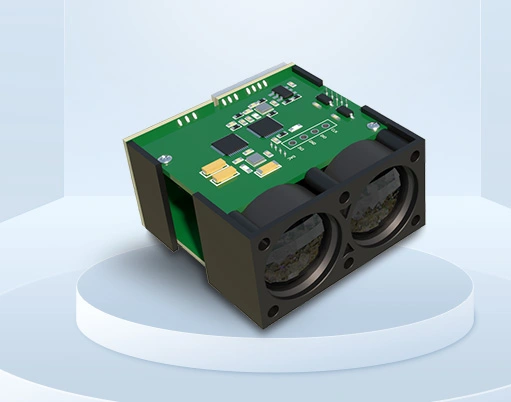
The integration process begins with selecting the right sensor. There are various types of laser distance sensors, including non-contact, ultrasonic, and infrared sensors, each with its own set of advantages and limitations. For most Arduino projects, a LiDAR sensor or a Laser Distance Sensor from a reliable vendor is a good starting point. These sensors are available in different ranges, from a few centimeters to several meters, depending on the application.
Once the sensor is connected, the next step is to write the code. The Arduino code will typically involve setting up the sensor’s pins, reading the input, and processing the data. For example, the sensor might output a digital signal that can be read using the digitalRead() function. The data is then processed using the formula:
Distance = (time / 2) * speed_of_light, where time is the time it takes for the laser to travel to the object and back.
A crucial aspect of this project is ensuring the sensor is properly calibrated. Some sensors may require calibration to account for environmental factors such as temperature or ambient light. This can be done by measuring the sensor output under known conditions and adjusting the code accordingly.
In addition to basic measurement, the sensor can be used for more advanced applications such as object detection, motion sensing, and distance monitoring. For instance, in a robot navigation system, a laser distance sensor can help the robot avoid obstacles by measuring the distance to them. In a home automation setup, a laser sensor can be used to detect the presence of objects in a room, triggering lights or alarms accordingly.
The Arduino platform is particularly well-suited for such applications due to its low cost, ease of use, and the availability of libraries that simplify sensor interfacing. Libraries such as LaserDistanceSensor or Adafruit_LaserSensor can provide functions to read sensor data, convert it to distance, and handle the data processing.
For those looking to build a custom project, it is important to consider the power requirements of the sensor and ensure the Arduino is adequately powered. Some sensors may require a 5V power supply, while others may need a 3.3V or 5V regulator depending on the sensor’s specifications. Additionally, the data rate of the sensor is an important factor, as it determines how frequently the sensor can provide readings.
In summary, the Laser Distance Measurement Sensor combined with Arduino offers an efficient and powerful solution for distance sensing in a wide range of applications. Whether you are a beginner looking to experiment with electronics or a professional seeking to enhance your automation projects, integrating a laser sensor with Arduino opens up new possibilities for innovation and precision. With the right setup and code, you can create a reliable and customizable project that meets your specific needs.


 +40729977919
  keysensor.ro@gmail.com