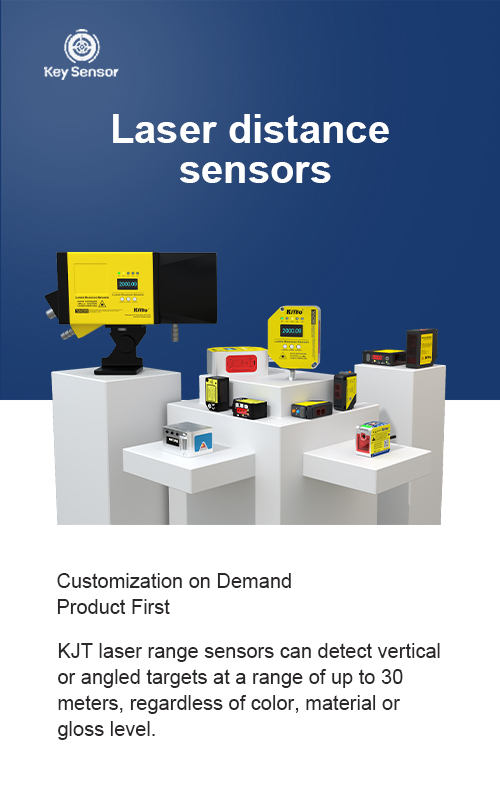
Arduino Laser Receiver and Laser Sensor: A Comprehensive Guide
In today’s rapidly evolving electronics world, precision and automation are key to innovation. One of the most powerful tools for detecting and measuring light in a controlled environment is the Arduino Laser Receiver and Laser Sensor. These components are widely used in robotics, industrial automation, and scientific experiments. This article explores the basics of how these devices work, their applications, and how to integrate them into an Arduino project.
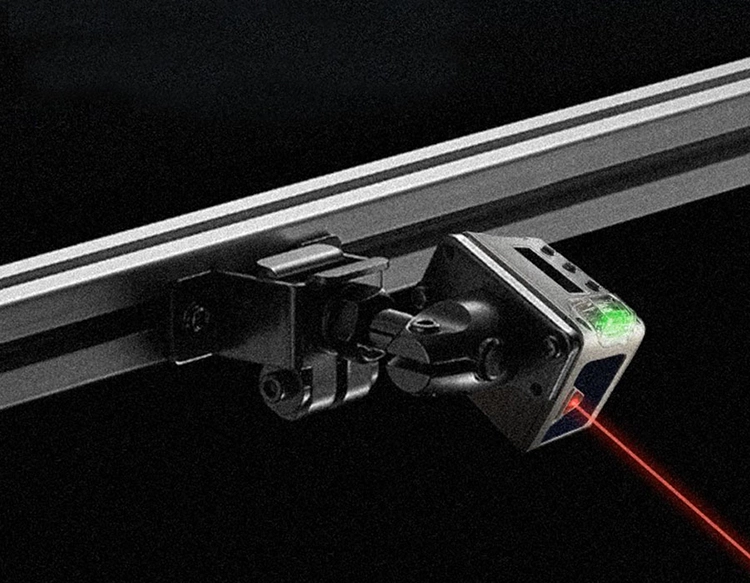
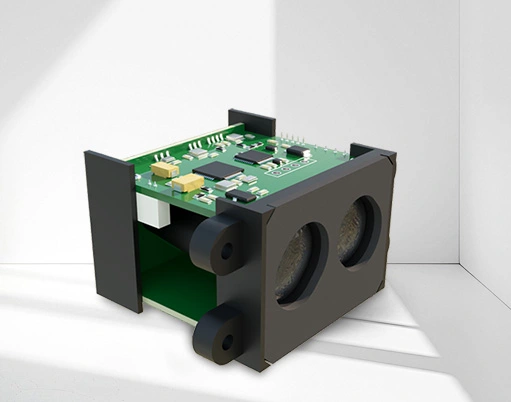
A Laser Sensor is a device that detects the presence or intensity of a laser beam. It works by emitting a laser beam and measuring the reflected light or the intensity of the beam. The Arduino Laser Receiver is a component that processes the signal from the laser sensor. Together, they form a critical part of a system that can detect and respond to light in real time.
The working principle of a laser sensor and its receiver is based on the photodiode and phototransistor. When a laser beam hits the sensor, it reflects back, and the receiver detects the reflected light. The amount of light received is proportional to the distance and intensity of the laser beam. This allows the Arduino to measure the distance or the strength of the light with high precision.
In an Arduino project, the laser sensor is typically connected to the board via a digital pin. The sensor outputs a voltage signal that changes based on the light intensity. This signal is then processed by the Arduino using a digital input pin. Depending on the type of sensor, the output can be a high or low voltage signal, which the Arduino can read and interpret.
The Arduino Laser Receiver plays a crucial role in this process. It contains a photodiode that converts the light into an electrical signal. The signal is then amplified and processed by the microcontroller. The Arduino can use this information to make decisions, such as triggering an action when a certain level of light is detected.
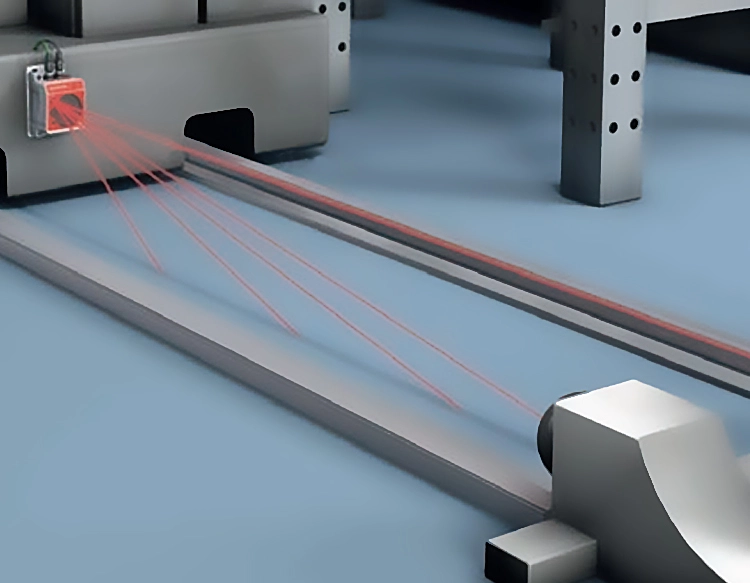
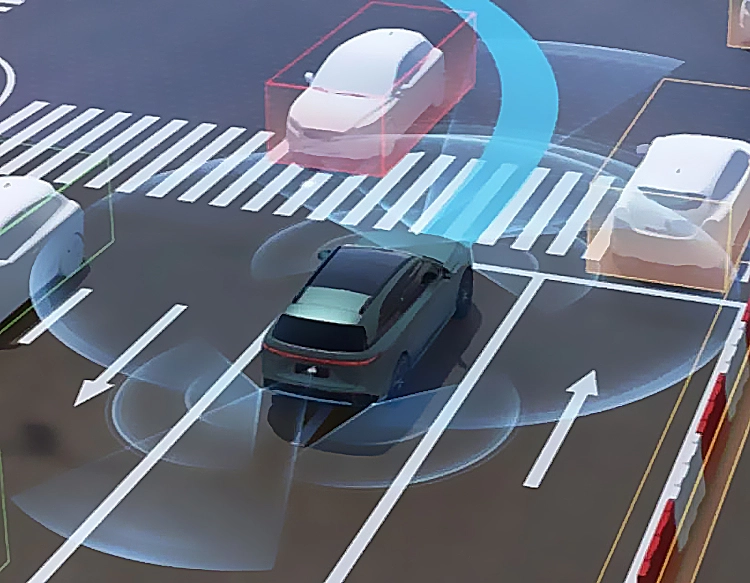
One of the most common applications of a laser sensor and receiver is in distance sensing. For example, in robotics, a laser sensor can be used to detect obstacles and navigate around them. In industrial settings, laser sensors are used to measure the distance of objects, ensuring precision in tasks like material handling or quality control.
Another application is in light threshold detection. The Arduino can be programmed to detect when the light intensity exceeds a certain level, triggering an action such as turning on a motor or activating a light. This is particularly useful in systems where precise control over light levels is required.
To integrate a laser sensor and receiver into an Arduino project, the first step is to choose the appropriate sensor. There are several types of laser sensors available, including diffuse sensors and polarized sensors, each with its own advantages and use cases. Once the sensor is selected, it is connected to the Arduino using a digital pin.
The Arduino code must be written to read the sensor input and process the signal. A basic example would involve reading the analog value from the sensor, converting it to a distance, and then printing the result to the serial monitor. This allows users to see the output in real time.
One of the key benefits of using an Arduino laser sensor is its low cost and ease of integration. Unlike more complex systems, an Arduino-based solution is simple to setup and use. This makes it ideal for beginners and professionals alike.
In summary, the Arduino Laser Receiver and Laser Sensor are essential components for detecting and measuring light in a wide range of applications. Whether you’re building a robotics project, an automation system, or a scientific experiment, these components offer a reliable and precise way to interact with light. By understanding their working principles and integrating them into your project, you can unlock new possibilities in automation and control.


 +40729977919
  keysensor.ro@gmail.com


