Laser Transmitter and Receiver Arduino: A Guide to Building a Simple Sensor System
In today’s world, the integration of sensors and microcontrollers has become a cornerstone of smart automation and IoT (Internet of Things) applications. One of the most versatile and precise sensors available is the laser sensor, which can detect objects, distances, or movement with high accuracy. When paired with an Arduino board, a laser sensor becomes a powerful tool for monitoring and controlling environments in a variety of settings—from home automation to industrial monitoring.
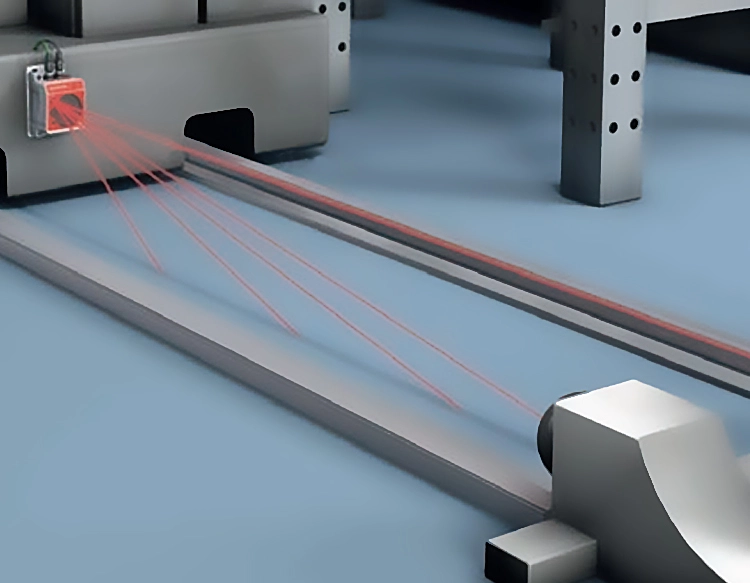
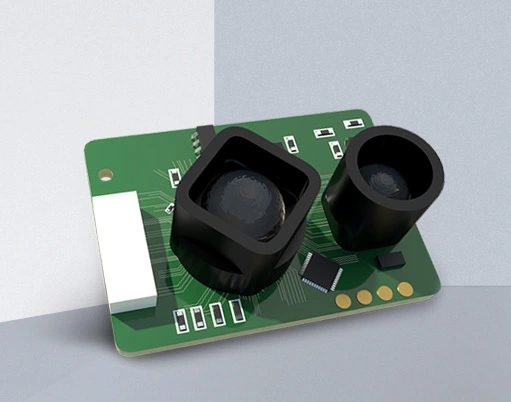
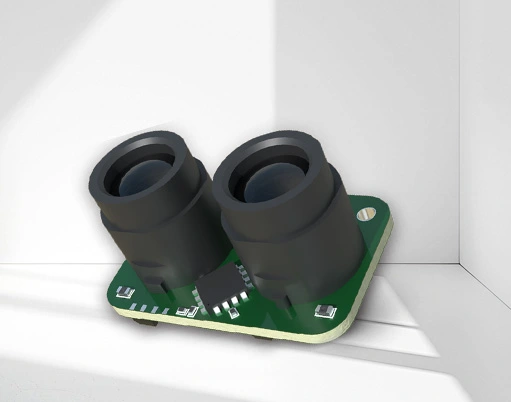
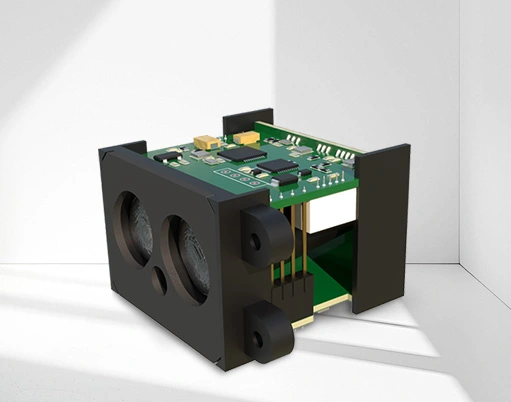
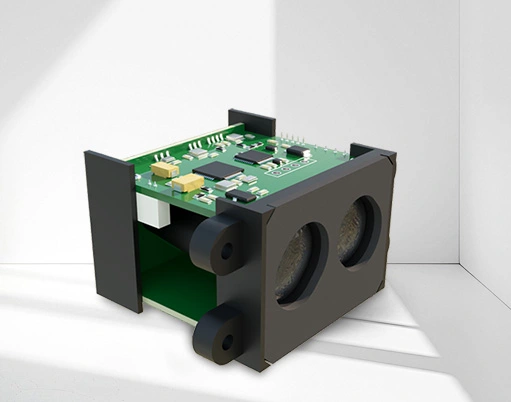
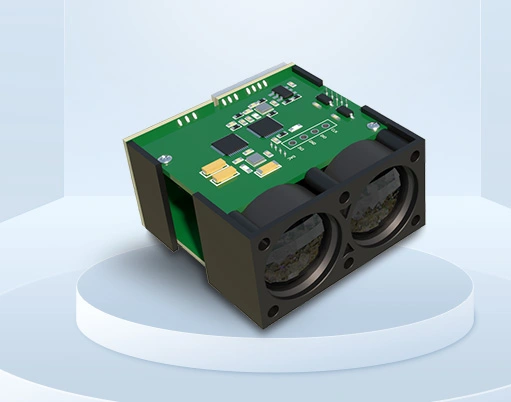
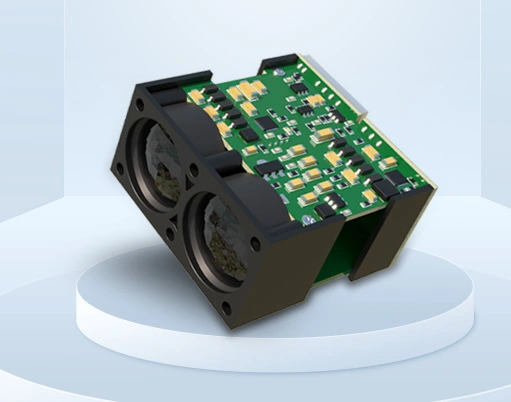
The Laser Transmitter and Receiver Arduino system is a popular setup for beginners and advanced users alike, offering a clear and straightforward way to incorporate laser sensing into a project. This system typically includes a laser transmitter that emits a beam, and a receiver that captures the reflected signal. By measuring the time it takes for the laser to travel to the object and back, the system can determine the distance of the object from the transmitter.
One of the key advantages of using an Arduino with a laser sensor is its flexibility. The Arduino can be programmed to trigger actions based on the detected distance. For example, if the sensor detects an object within a certain range, the Arduino can activate a motor, light an LED, or send a signal to another device. This makes the system ideal for applications such as:
To build a basic laser transmitter and receiver system with an Arduino, you will need the following components:
Once the components are assembled, you can connect the transmitter and receiver modules to the Arduino board. The transmitter emits a laser beam, and the receiver detects the reflected signal. The Arduino then processes the signal and can trigger actions based on the distance detected.
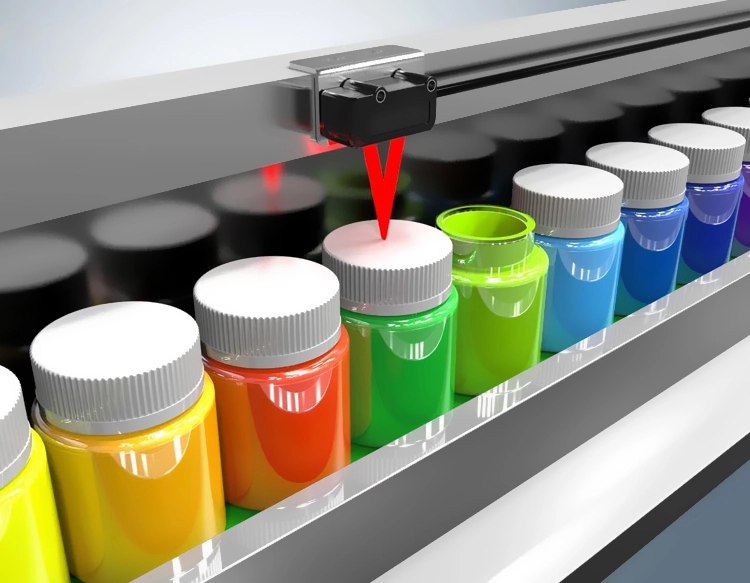
A critical aspect of this system is the calibration of the sensor. The accuracy of the distance measurement depends on the calibration process, which involves adjusting the sensor to ensure it works correctly under different lighting conditions and environmental factors. For example, in low-light environments, the sensor may require additional amplification or a brighter light source to maintain accurate readings.
Even with proper calibration, there are limitations to consider. Factors such as ambient light, object reflectivity, and the distance between the transmitter and receiver can affect the system’s performance. Therefore, it is essential to test the system under various conditions and make adjustments as needed.
In addition to the basic setup, there are advanced options available for more complex projects. For instance, you can integrate the laser sensor with other sensors, such as temperature or motion sensors, to create a multi-functional system. This level of integration allows for more sophisticated applications, such as monitoring a room’s temperature and detecting movement at the same time.
The use of the Laser Transmitter and Receiver Arduino is not just about building a simple project—it’s about enabling smarter, more responsive systems. Whether you’re a hobbyist looking to create a custom device or an engineer working on a larger project, this setup provides a solid foundation for innovation.
By understanding the principles behind this system and how to integrate it into your project, you can unlock a world of possibilities. From simple automation to complex environmental monitoring, the laser sensor and Arduino offer a powerful combination that is both reliable and versatile.


 +40729977919
  keysensor.ro@gmail.com